Boston Brown Bread

Okay I know I am early for St Patricks Day.  I actually started this post last year because we had to have St Patricks Day late due to school stuff, and then more school stuff caused me to be late in getting this post written.. But think of it this way..  now you are ready with recipes for St Patricks Day 2012!!  Add this to the Corned Beef post and you are all set!

So here is step one, perfecting brown bread.  Rob loves it.  The kids had never had it until I made it last year.  It was so good.  I will be making it again this year.  I used the same site I got the corned beef original recipe and got the recipe for this.   Here it is.   I have always thought bread in a can was just wrong for some reason.  I liked it and have fond memories of my grandmother bringing out that can and my grandfather complaining about how expensive it was, but eating almost half of said can.  We always got it with raisins.  This one I made has no raisins since Nik doesnt care for them.

Like making the corned beef this can be labor intensive.  But also like the corned beef.  This is much better than the crap you get from the store.  You do need a few ingredients but you can get them at most grocery stores.  I had to look in the organic section of my local Hannafords but was able to find everything we needed in one shopping trip.

Ingredients
Makes one loaf of bread
Butter for greasing the pan/can
1/2 heaping cup of rye flour
1/2 heaping cup of all purpose flour
1/2 heaping cup of finely ground corn meal (must be finely ground)
1/2 tsp baking powder
1/2 tsp baking soda
1/2 tsp salt
1/2 tsp ground allspice
1/2 cup molasses
1 cup of buttermilk
1 tsp vanilla extract (optional)
1/2 cup raisins (optional)

First thing you need to do is figure out your pan situation.  Most recipes call for a coffee can but you can use a couple of regular 14.5 oz cans as well.  I had a pan that I got at a yard sale like a hundred years ago in a box of used cooking utensils.  I had no idea what it was and Rob said, hey you have a brown bread pan..  if you say so.  LOL  Here is said pan.

So the first thing you do with your pan is to butter the inside..  Nik to the rescue.. i know this is a disturbing picture but it makes me laugh..
BUT my pan was not working with the finger method.. so we had to go to the whole uber long sterile Q-Tips I had gotten a few years ago for cleaning wounds.  They are all individually packaged sterile Q-tips and about 6 inches long.. Perfect.

I think it would have been easier to just use cans but Rob wanted the pretty design.  So anyway, butter the pan/can.   And then wrap 2-3 layers of heavy duty aluminum foil around the bottom.

You want to end up with your pan/can looking like this.  Make sure it goes up atleast 1/2 to 2/3 of the way up the pan/can.
Set your oven to 325 degrees to preheat.  Now get your water bath ready.  Take a stock pot that will fit in your oven and fill it about 3-4 inches up with hot water and set it to boil.
Keep it boiling while you get your batter made.  In a bowl mix your dry ingredients and the raisins if you want them.
In another bowl mix your wet ingredients.
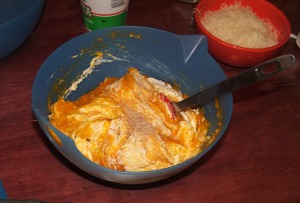
Then mix them together.

Then pour no more than 2/3 of the way up the can.  This is important, not more than 2/3s of the way up!  It gets messy if you go too high trust me. 
As I am sitting her working on the post, Rob is trying to convince me that I need to make some right now!  HAHA  he saw the picture and said… ohhhhhhhhhh you should make some!  HAHA

So then you either put your cover on, or wrap it with aluminum foil.  Make sure you poke a hole into the top to release steam.
Put it into the water bath in your stock pot.   You dont want the water to be over 1/3 of the way up the side of the can, so take some water out if needed. 
Put it in the oven and set your timer for 2 hours and 15 minutes to steam.    Here it is once you check it after that time.. and you added more than 2/3s of the way up the can.  Dont do what I did.. just fill it 2/3 or maybe even a little less. HA
It was kind of a blow over and through the little hole.  It made a nasty pasty crap in the bottom of the pan.. so again.. only 2/3 of the way.  Once the toothpick comes out clean you are done.  Now take it out and put it top of the stove and let it set for 10 minutes.  Remove from the water and put on top end up on a cooling rack.   Let it cool for an hour.  Then take out of the pan/can.
Once fully cool it stays for a couple of days in the fridge if you wrap it up tightly with saran wrap.. or in my house it lasts for an hour or two because it gets sliced and served practically before it was out of the pan.  Top with butter or a yummy jam or corned beef, or whatever you want.  SOOOOOO good!
So moist and yummy.   This picture doesnt do it justice (I really need some food photography classes!!).  They look dry in this, trust me it isnt not!  In fact Rob is looking at the picture again and hinting again about making some.  LOL Its that good.  Never buy cannedl, when you can make it yourself.

Happy Steaming!
Garlicky Smashed Potatoes

I love potatoes.  I love them any way you can have them.  NO i mean it.  Hash browns, home fries, mashed, baked, fried, salad, any way…  I have about 10 different ways that we make them.  This is my favorite way mashed!  Cause garlic is amazing with potatoes!  They compliment each other well.  Rob doesnt care for mashed potatoes as much as the boys and I do but if he is going to have them, this is the way he wants them!

This recipe came about when I was making salsa one time and had peeled about 4 bulbs of garlic to make my roasted garlic salsa.  I had 20 or so cloves left over and I didnt want them to smell up the fridge so I threw them into the water with the potatoes.  YUMMMMMMMM  yeah those were good!    So now the kiddos ask for them quite often!  They can be a bit time consuming cause of the amount of garlic to peel but they are uber good!   You can also use roasted garlic as well, just throw it up at the end when mashing. 

A note about potato types.  There are russets, white, idaho, red, yukon gold, etc.  I know that different ones have different textures and that makes for a different final product.  To be honest, I am cheap and I buy whatever is on sale.  My favorite to cook with is russets or yukon gold but that being said I never been able to really afford to be picky.  My fave for baking are idaho or russets and for mashed would have be russets or yukon gold.  Here is a great article about types and what is best served for cooking styles.

Ingredients
Some russet/yukon potatoes (I’m feeding three grown men, so I make a 5 lb bag)
2 bulbs of garlic
2 tbsp salt (yes 2 tbsp, its for the boil water, relax)
1/2 cup milk ( I used to use half and half, then started weight watchers haha)
1/2 stick butter (not in picture, I was slacking)
S & P

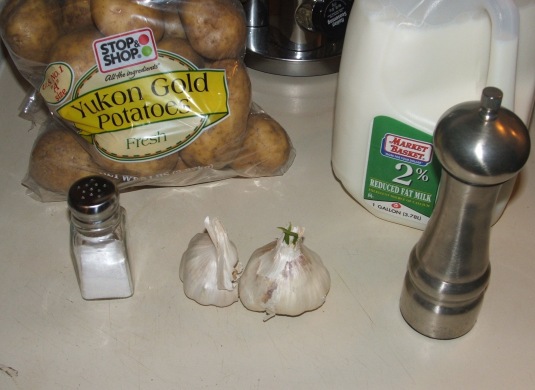
Cast of Ingredients

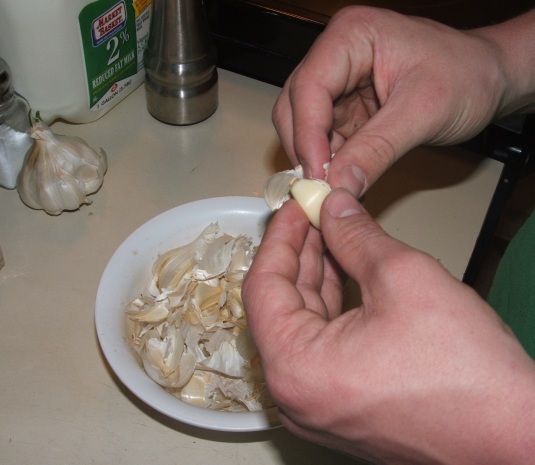
First step is the one I hate the most, peeling the garlic.  I hate how my hands get all sticky, but I much prefer the flavor of fresh peeled to the already peeled stuff. 
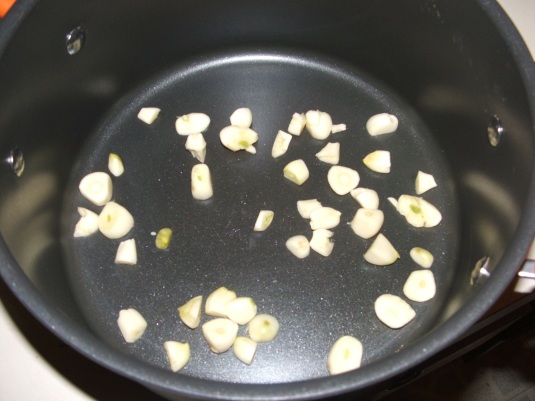
Then throw them into the pot after you half them.

Peel the potatoes.

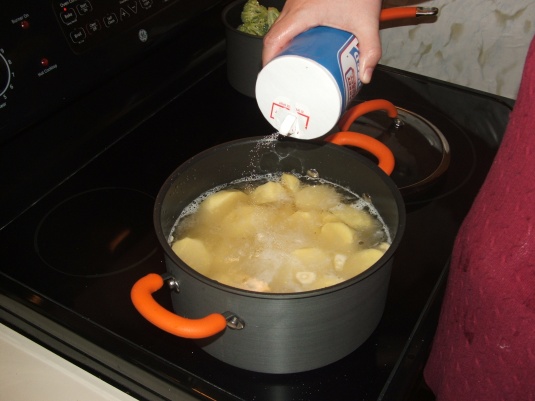
Then after you slice/quarter/cube them (which ever works for you… I do thick slices) throw them in the pot with the garlic and cover with hot water.    Add the salt.  ** see disclaimer on salt below…  

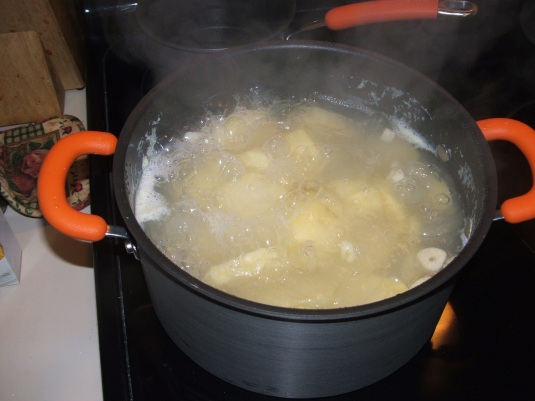
Boil until fork tender.

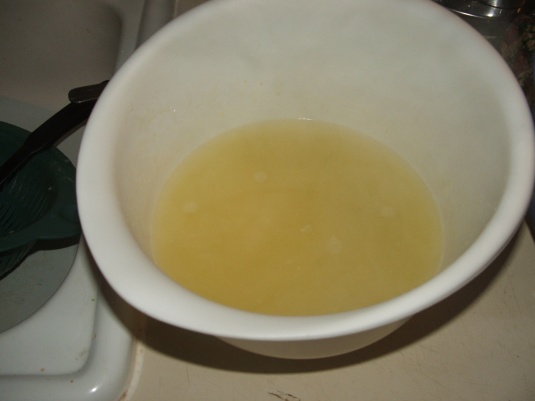
Drain off  but do so over another bowl.   Potato water has many uses but I use it as a thickener in chowders etc.  Just let it boil down at bit more and it concentrates the starches and I put it into soups that have potato in it, like corn or potato chowder. 
You are left with yummy potatoes, with chunks of garlic. YUM

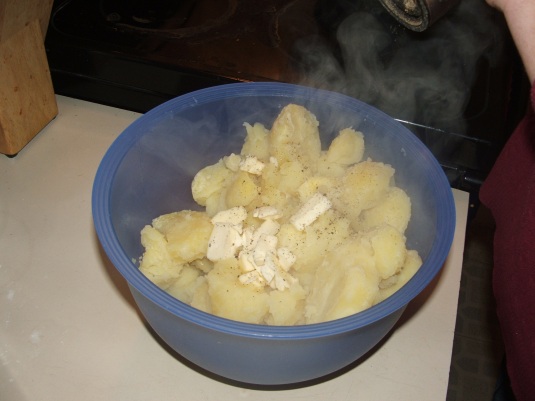
Put in a serving bowl and add the butter.

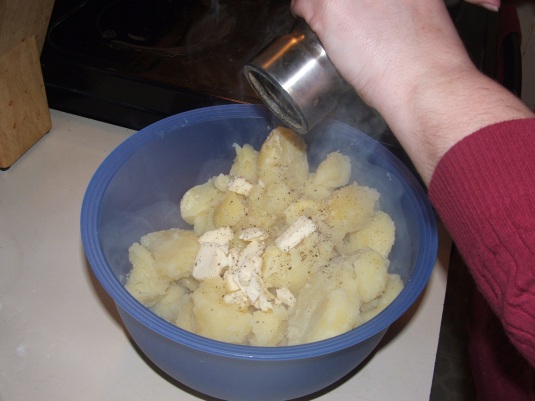
Then add some pepper and a tiny bit more salt (like 1/2 tsp).

Add the milk.   This isnt an exact amount (well neither is the butter) it depends on how creamy you want them.  I like them a bit more scultpable.. hehe  I usually try to go a bit on the low side.  You can always add more but cant take away.  Making potatoes is like so much else in life.. start off in moderation.  You can cut down on the milk and use some of the potato water as well.  This is good too.

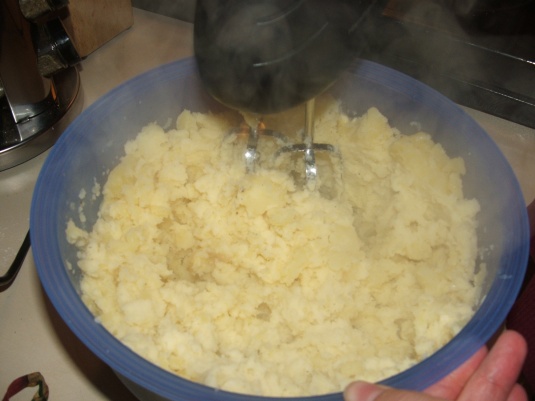
Then beat the hell out of them.  I do like a bit of lump in my potato from time to time but pretty smooth for the most part.

Then serve them up.. trying hard to not eat them by the spoonful as you go.  

These are my favorite with my meatloaf, and a side of peas or corn.  Simple homecooked, comfort food.  These are easy peasy flavorful yumminess.   And now the disclaimer on salt……
**Salt water is what helps you cut down on the amount of salt needed.  When you cook starches (pasta, rice and potatoes) you need the salt to get pulled in while it is cooking.  If you wait and just do salt when finishing, it sits on the starches and you need more to get the same flavor.  SOOOOOOOOO salt the water.  Start off with one tablespoon the first time you do it.  Then you can add more the next time you do them.

Hope you enjoy…

Happy Cooking!!

Spicy Balsamic and Feta Pasta Salad

So it is in the dead of winter here in NH.  Okay maybe not dead but it is cold and snowy and dreary out.  And I want pasta salad.  I want something that reminds me of summer and pasta salad does that.  Well so does potato salad but especially pasta salad.  I love them anyway I can have them, creamy mayo based, oil dressing based, I have even had a weird cheesey based one.  That one was weird and I am not too upset that I never learned the recipe.  LOL   But there is something to be said about the mix of veggies and pasta and something to bring it all together.  And I am totally on Robs side that there is just something fun about cold pasta.  Yum

So two days after my surgery Rob and I were sitting and chattin about pasta and about a conversation that had been on a cooking board I am part of.  We had talked about where people got their recipes from and if people actually just make things up anymore?  So I said to Rob, well I do.  I said (with a little Vicoden induced bravado) that I could make up a recipe for something right then.  And this was born.  I was thinking of the grocery list and I needed feta, we had been out for 3 whole days!  And I needed salad fixings like cucumber and scallions and ohhhhh I want some of my spicy garlic.  Ohhh goodness a caprese salad sounds delightful.. well actually what sounds yummy is the balsamic reduction…….  so this was born.  It was born from a grocery list, balsamic reduction and Vicoden. 

I had a wait a few days to make it since we didnt get to the store that day.  And dont let the Vicoden fool you!  This is good!!  Since WW kind of limits my pasta intake I was not able to partake as much as I would like but Aaron ate almost the entire bowl by himself.  He loved it.  Rob liked the flavor but I had cooked the pasta a bit much.  Nik is weird, he doesnt like pasta salad, with the exception of my italian dressing one.

Ingredients
yield is about 12  3/4 cup servings.   WW points plus is 5 per serving
1 lb whole wheat rotini
1 1/2 cups balsamic vinegar boiled down to 1/2 cup
2 tsp sugar or 2 packets splenda
1/2 an english cuke  (about 3/4 cup)
1/2 cup red onion
4-5 scallions
3/4 cup quartered grape tomatoes
Spicy garlic from the olive bar to taste, I used 6 cloves
2 tbsp spicy oil (this was good for us, if you want just a subtle taste go with 1)
S & P
1/2 tsp ground mustard
3/4 cup crumbled feta

Cast of characters


Start by getting your balsamic vinegar in a medium sauce pan and add the sugar/splenda.  Reduce until it is about 1/2 cup, no need to be exact just get close so you can get the intensity of the reduction.  This may take about 1/2 hour and it will need to cool so unless you do a cold water submersion once complete you will need to start this before hand.  Or you can be a dork like me and have some on hand.  I use it for dressing on salads.   Next get your pasta cooking.  Salted water is important! 

While this is going, peel and seed your cuke and dice into pieces.

Dice the scallions.

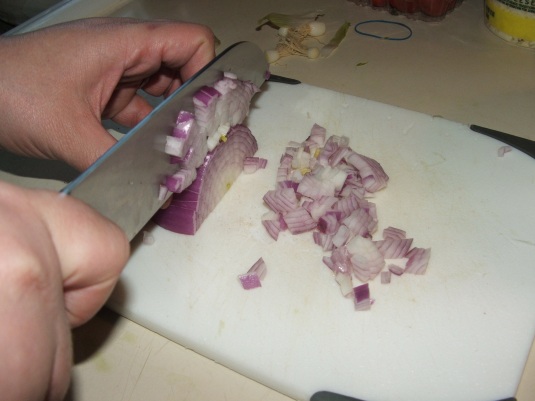
And the onion

Quarter and seed the tomatoes.  Rob didnt like tomatoes until last year.  He still doesnt like the “slimy bits” in the middle so I get those out of there too. 

Mince up your garlic, or slice it if you would like it a bit chunkier.

Throw all the veg into a bowl and set aside.

Next take the cooled down balsamic reduction and add the spicy oil and some S & P to taste.  Add the ground mustard and whipped them together until the oil and vinegar were combined.

Add the feta to the cooled off pasta.
And then the veggies.

And then the balsamic vinegrette!

And mix thoroughly.   Chill completely.  Serve in a chilled dish.

So very good. Balsamic reduction is slightly tart but with a sweet finish at the end.  The spicy from the oil is subtle and adds a depth.  The veggies are not swimming in dressing so they stay crisp.  The feta is a creamy contrast and I LOVE feta with balsamic anyway so this just works for me.    I hope it does for you too.  Comment if you have any ideas for serving options.

Happy Cooking!!

Homemade Cheese Its

You remember me talking about how we like to make things from scratch that are easier to buy.  Well Rob came across this recipe in his Ready Made magazine for home made Cheese Its (yes i know they aren’t spelled like that but I have no idea about copyrights on names) and I had to try them.   BUT they were way too high in points for WW so I tweaked.  Are you surprised??  If you are, you havent been reading my blog enough.  Haha.

The original recipe calls for only 5 ingredients.  I added a couple.  First of all I changed the cheese to low fat.  I KNOW, the sacriledge!!  Cheese is the epitome of yumminess and to a dairy farmers daughter anything that uses milk is essential to life.

I love cheese crackers.  I love the taste, the texture, and goodness knows I love me some cheese.  I think that has been the hardest part of WW has been giving up cheese and its products.  You can eat whatever you want on WW but honestly 1 oz of cheese can be 2-4 points.  That is alot of points for such a small amount, so I have been sparing.  This recipe, makes about 15 dozen!!  which when points are added up.. is only 2 points per dozen!!! Yeee Haw

Ingredients
yield: 15 dozen   adapted from Ready Made magazine
1/2 stick butter
6 oz low fat sharp cheddar
2 oz hard italian cheese (pecorino is what we had in the house)
1 cup flour
1 tsp salt
1/2 tsp garlic powder
2-3 tbsp cold water

Cast of Characters

In your stand mixer, add the butter.

Grate cheese into the mixer.

Add the salt.

Beat the butter, cheese and salt on medium until incorporated.


Add the flour.

Mix until the consistency of coarse sand.

We decided to add some garlic powder at the last minute.

Slowly add water 1 tsp at a time while on medium speed……

Until it comes together.

Here is where I will tweak the recipe the most in the future.  The recipe calls for putting it in the fridge for an hour.  I will NOT be doing that.  It made it hard to roll out.   I ended up having to knead it a bit to soften it up.  So next time Iwill just cut it in half and roll away. 
So start off with a lightly floured surface.  I love my Pampered Chef roll mat, barely have to use any flour.

Pat half the dough into a disk.

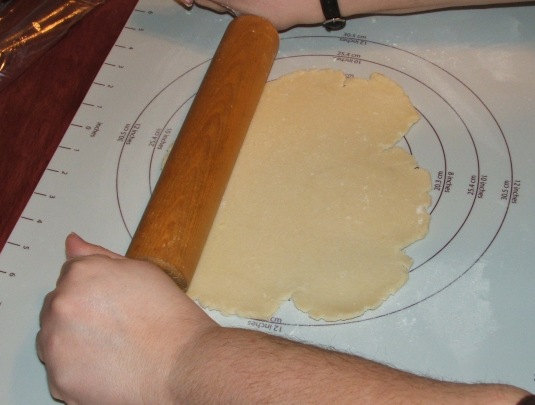
Roll it until it is thin.  The recipe said 1/8 but i dont think that is thin enough.  So I would roll it as thin as possible.

Cut with a fluted roller or even just use a knife if you dont have a rolly thingy.

Take off the not pretty edges to roll out later.  Here is what they will look like.  See how they are not even.. I love that about homemade.

Put on a parchment lined baking sheet and poke the center out with a chopstick.  This will help them from puffing too much.

Bake at 375 for about 15-17 minutes.  These were in for about 14 minutes.

I think they like them…..

Even Rob who hasnt been feeling well enough to eat real food for 5 days, couldnt resist them. 

The results.  Well they were soooo tasty but a bit thick.  They called for rolling 1/8th an inch thick. I will go thinner next time and bake a little less time AND I will definitely use my Pampered Chef stoneware so they dont burn.  But they were so good and actually pretty fun to make.  As you can see by the masculine hand in some of the pictures, Nik made these with me and we totally had a great day baking and chatting.  Rob was in bed, until he smelled them done and had to sample, and Aaron was at Corries house so this was a fun project for Nik and I.  Granted I think I have about 4 dozen left after Rob and Nik finished but it was so worth it. 

Happy Baking!!

Orzo Risotto with Spinach

I am on Weight Watchers (WW).   I joined 4 weeks ago and am doing pretty darn good.  I am happy with it.  I had a gastric bypass a few years ago and lost over 130 lbs, which wasnt as much as I wanted to lose but nothing to sneeze at.  I have a heart condition that manifested from losing the weight and it really slowed down my progress.  Add on getting married to someone who is a burgeoning foodie, having twin teenage boys and my own love of cooking and you have a recipe for weight gain.  Hence WW.    I wanted to make my own food and my own choices.  So here is one of the recipes I have added and tweaked and made my own. 

It started out in a Rachel Ray Mag.  Dont hate.  I think she is fun and bubbly and while entirely way over exposed, I like her style and her outlook on food.  If that changes the way you think of me, well I hope we can still be blog acquaintances!   This was in her March edition.  Well what this recipe started out as, is in the March edition.   Now is has been Kimmi and WW-ized!

One of the issues with rice (and some pasta) is that in WW it is so high in points.  I love rice; white rice, brown rice, basmati rice, jasmine rice.. hell if there is rice in the name I like it.  Even rice wine vinegar. Granted that has wine in there too which gives it a leg up!   So when I saw this I thought.. mmmmmmmmmm orzo…. rice…. orzo is 5 points per cup… arborio is 18 points per cup.  Wooooohoooooo  I was so excited.  Then I looked at the rest of the recipe.  There was no way that I was going to be able to make this points manageable unless I worked with it.  Plus Rob wouldnt eat some of the stuff in it.  So we were off to tweaksville.   And it worked.

Ingredients
Yield: 8 1/2 cup servings

4 cups cooked orzo (I just made 3/4 a box, the left overs are for salads)
1 small onion
S&P
1  1/2 cup half and half
1 cup pecerino/asiago/parmesan (italian hard cheese) fresh shredded
2 cups spinach with the spine removed (or use baby)
reserved pasta water (save some out when draining the pasta)

The Cast of Characters

Dice and lightly saute your onion with some S&P in a lightly sprayed pan.

Meanwhile shred your cheese.  The recipe originally called for shaker cheese.  I dont use the stuff.  It tastes like powder to me.  If you use it and love it, great, give it a try but it just isnt for me.  So I shred my cheese fresh, it tastes better and in the end it really isnt all that much more expensive if you watch the sales.

Take the spine out of your spinach.. you know, that part of the stalk that is a bit tough and not as yummy.. and then break it up into smaller pieces.  Or you could just use baby spinach, which would be easier, if I had that in the fridge that is.  So full grown tough spined spinach we used..  its still yummy.

The next couple steps I didnt take a picture of.. I hope you can forgive me.. Please?  

Okay, thanks for forgiving me.. I knew you would, eventually.   Oh the directions.. okay.

Add the half and half to the onions and stir together. Add the shredded pecerino and bring to a simmer until thickened up a bit.  Then add your orzo.  Stirring to incorporate.  Add some of your reserved pasta water to make it a bit creamier and thicken up to your desired creaminess/thickness.   

Toss in the spinach and stir to incorporate (yeah pictures are back)


Serve with whatever your little heart desires.  I served this with some edamame and some sliced cooked chicken. 

In the end, I just sort of mixed it all together.   Very creamy, not too cheesy and other than adding a touch more S&P next time, oh so worth the 6 points for the 1/2 cup serving!

Happy Cooking!!

Redneck Caviar

This was recently a post on the Nest’s Whats Cooking site.  I was surprised to say the least.  I had gotten my black bean and corn salad recipe years ago from Allrecipes and had tweaked it alot, but had never seen it anywhere else.  Now here were recipes that gave me so many ideas for many more tweakings.  Haha  I think most other recipes added other types of beans and veggies to the recipe so that isnt something I can thank one specific person for.  But I would like to thank a couple of the ladies of WC for their recipes that helped me tweak to this final product.. first of all Melissa Bakes for her addition of tomato which was unique to the others I looked at.  And secondly Vintage Victuals for her addition of hot sauce.  YUM.  The rest is from an original recipe I found on Allrecipes  8 years ago and I dont think I even bookmarked it since it needed alot of tweaking. 

Now let me say, this is a total bean and veggie fest.  It is not terrible points wise on Weight Watchers either.  A 3/4 cup serving as a side dish is 3 points and it is high in protein!   It is rich and flavorful and goes well with chicken.  I have been using the last week in place of dressing and only using a 1/4 cup which has the same points as dressing but adds protein and flavor. 

Rob and the kids dont like beans.  Well Nik did until Rob moved in and now he doesnt like beans.  KIDS!!  LOL  Rob doesnt like mushy texture and I have yet to find a bean he will try.   So i eat alot of this when I make it.   It is so good on crackers or tortilla chips.  I served some last Sunday to Robs gaming buddies and they loved it.

Ingredients
yield about 9 cups  adapted from: see above

1 can black eyed peas
1 can black beans
1 can kidney beans
1 can corn
1 Roma Tomato, seeded and diced
1 medium onion (I use red or vidalia)
1 green pepper (if I had red pepper I would have used that too in addition)
Dressing
1 large fresh jalapeno
4-5 cloves fresh garlic
2 tsp kosher salt
1 tsp cayenne or chili pepper
1/2 tsp black pepper
2 tsp cumin
1/4 tsp dry basil
2 packets splenda (or you could use 2 tsp sugar)
1/4 cup balsamic vinegar
1/2 lemon (or you can use the whole one but this one was uber juicy!)
1 tbsp olive oil
2-3 shakes of hot sauce
1 tbsp water

The Cast of Characters

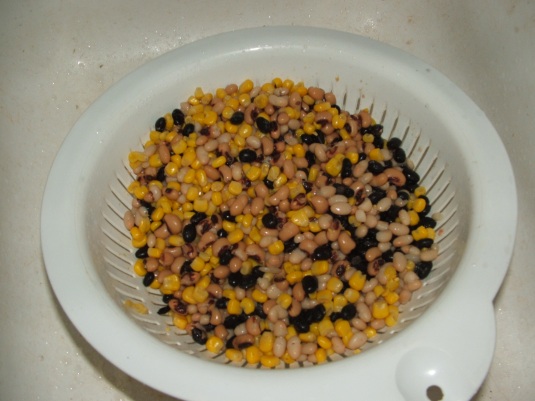
Drain the corn and beans.  Dont rinse but do put the beans in first and then dump the corn on top!  The water in the corn will rinse it a bit.  I might try two cans of corn next time.. but I am a farmers daughter and used to sell corn.. so I do love me some corn.

Finely mince the jalapeno and the fresh garlic.  And YES you do need to use fresh and not that ready chopped stuff.  You are looking for flavor here not ease!

Set aside in a bowl that is atleast 3-4 cup capacity.

 Dice up your peppers and onions.

Toss in a bowl with the beans and corn.

Seed the tomato.  I like tomato but I dont care for the sloppy middle and the seeds.  This eliminates that mess. 

Then dice them up!

Now make the dressing.  Add the balsamic, oil, hot sauce and the water.

Squeeze your lemon into the bowl.  If you have a juicer thingie use it but I dont so my hand is a juicer!

Add seasonings and such.  Taste to make sure it has enough salt and sweetness.  It is supposed to be a bit tangy but still have a touch of the sweetness.

Pour over the beans and veggies.  And mix….

Serve as a side dish,  or with tortilla chips, or any way.   Its yummy!

Happy Cooking!

Butternut Squash Stuffed Shells

This is one of my most asked for recipes, hands down.  When I have it for left overs I have to bring in extra for a couple people in my office who love them, right Emily!?!!  These are semi labor intensive but like my last post where I talked about freezing ahead, I make two (this recipe makes two 9×13 trays) and freeze one.  They freeze amazingly well.   The butternut squash I made is slightly sweet and smooth with that rich taste that only copious amounts of cheese can give you.

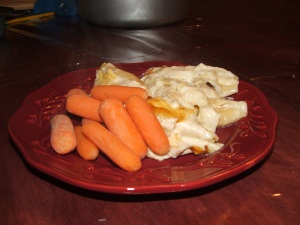
Let me warn you, this is not a low fat dish, there is really no way to make it low fat.  It is not gluten free or dairy free.  This is a good old fashion clog your arteries with goodness dish.  You will not need to have more than 3-4 shells (unless you are 17 year old boy who can devour about 10 of them in 30 seconds flat!) because they are so rich.  I most often serve with carrots or a green veggie. 

I originally got this recipe from a magazine 6-7 years ago but have doctored, played around and generally changed it so much I dont feel bad passing it off as my own.  I love to do that; do math on my recipes..  You know: add a little, subtract a little, multiply this or divide that.  Drives me boys nuts in someways.  “Mom what is the recipe?”  UMMMMMMM I dont know.. it started out *this* but now its *this*.  Its good for them.. keeps them on their toes and teaches them to try new things some times.

First a note about cheese.  I very seldom buy preshredded cheese for anything other than tacos (or for Rob and the kids to use).  When I am cooking I buy the one pound blocks of mozzarella, the 8 oz blocks of cheddar and I never buy canned or ready grated hard italians.  Part of what keeps those shreds from clumping is a de-clumping agent, sometimes natural products but it isnt cheese.  I am paying for cheese, I want cheese!  So take the time and grate it or shred it yourself.  It tastes better and is more cost effective.  Already shredded cheese is generally more expensive because of the convenience factor.. seriously a 1 lb block of cheese takes 2 minutes to shred.. and it is a dollar more in some stores.   You do the math!

Ingredients

2 boxes of  jumbo shells
2 jars of your favorite alfredo sauce (can do low fat, but I’ve yet found one I like)
1/2 cup milk
6-7 grates fresh nutmeg (can use 1/4 tsp ground but the fresh is so much better)
2 tsps ground sage
1 15 oz container of part skim ricotta
1 egg
10-12 grates of fresh nutmeg (or about 1/2 tsp ground)
2 1/2 cups of your squash (or store bought) with any extra fluid drained off
3/4 cup shredded cheddar cheese
1/2 cup grated fresh parmesan or other hard italian cheese (optional)
2-3 cups shredded mozzarella

First boil your noodles in salted water. (see note about salted water below***)  And drain well and put aside to cool slightly.


In a seperate bowl mix the alfredo sauce,  milk, nutmeg and sage.  Mix thoroughly and set aside.


Mix your filling together which consists of the ricotta, egg, squash, 1/4 cup of the shredded cheddar and 1/4 cup of the parmesan.  Mix together until smooth.


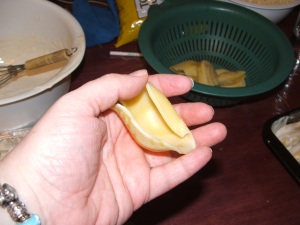
Now it is time to stuff!  This is a blast, the kids and I do this part.  They always over fill but after a few gentle reminders they get better.  Spread alittle of the sauce in the bottom of your greased 9 x13 pan.   I use one metal one for dinner and then another aluminum one to get in the freezer.   


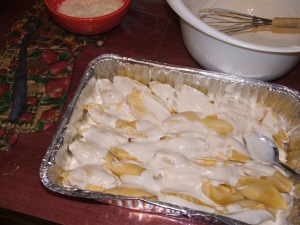
You want to fill them so that you can almost fully close them.   Then lay them with the opening facing the side.  Fill up and cover with half of your sauce (remember this makes two pans).  You should make sure that the sauce is on all the shells so you might have to pull it out of the crevices between the shells. 

Take the remaining 1/2 cup cheddar, 1/4 cup parm and 2-3 cups mozzarella and cover the shells.

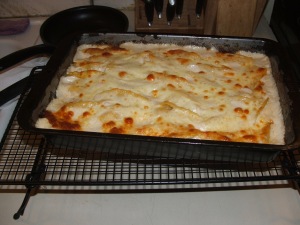
Bake at 350 for about an hour until bubbly or the drooling has gotten so bad you cant stand it.    It comes out all yummy with crunchy cheese around the edges!

Serve with your favorite veggie and some nice crusty bread.   So tasty..

*** There is some controversy about salting your pasta water but i did a little experiment after something I saw on a cooking show.  I boiled pasta one night in salted water (1 tbsp kosher salt in 10 cups of water adding one pound pasta) and served it with just butter and pepper, no one person added salt.  The following week made it with no salt in the water and both of the kids added salt and it was much more salt than what the pasta had in it from the water.   Cool huh!!  Now if you are on a restricted salt diet please omit.

I love this recipe. It is fun to make, not too hard and other than a bit time consuming, so worth it.  Rob doesnt eat squash (neither will the boys but they will eat this) so when I make this I make two lasagnas or two stuffed italian shells as well. The kids eat both so there works out to be enough for dinner and a couple lunches for Rob and I.  Ihope you try it and love it as much as I do.

Happy Cooking!